Home Improvement:


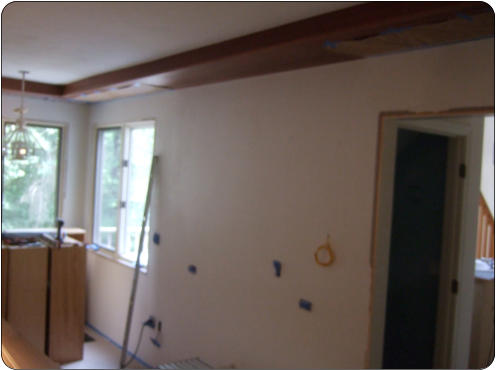
By this time, we had the soffits up and the floor
completely done and were ready to move onto
getting the cabinets, countertop and appliances in
place. This part of the project moves really quickly
and is pretty exciting
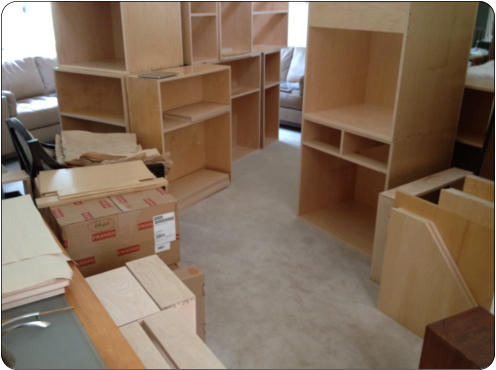
Which is good, because the living room was
completely full of cabinets The whole first floor was
pretty well dedicated to the tools appliances,
cabinets, and other items needed for the renovation.
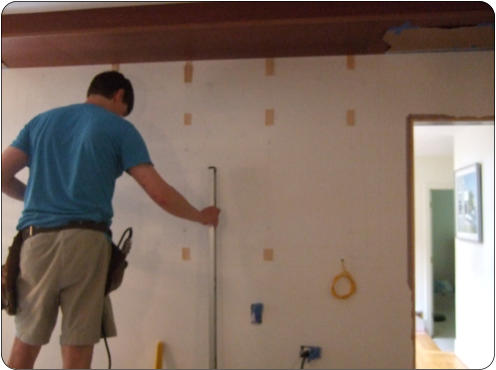
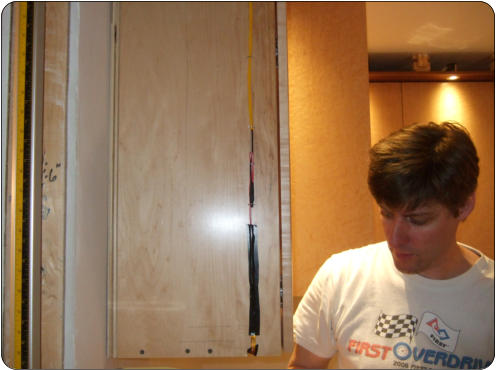
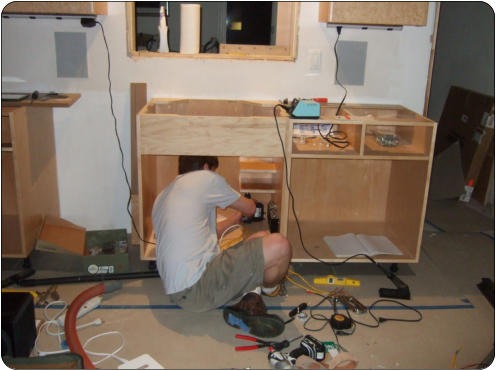
Maybe this is unnecessary, but the approach I took
was to pre-shim the points where I was going to
screw the cabinets to the wall. I wanted to create a
plane of these shimmed screw locations as close
into the wall as possible. The shims are held in
place with staples until the cabinets go up
Cabinet Installation
Finally this room starts
to look like a kitchen
This should be really easy. But the challenge of
hanging cabinets is that the room is always so far
off of square. Walls meander in and out, floors
aren’t level, ceilings aren’t level and corners are
overfilled with plaster. The answer is to know the
problem spots ahead of time and shim appropriately.
I made it a bit easier on myself by using cabinet
levelers (legs) rather than building them on a raised
base
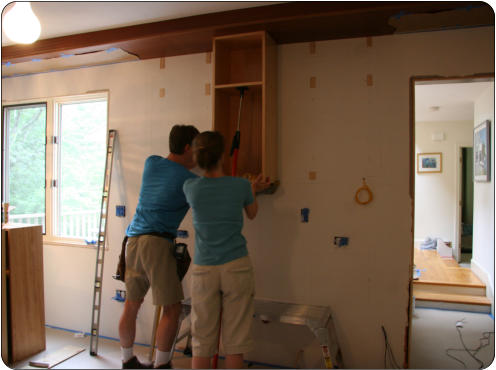
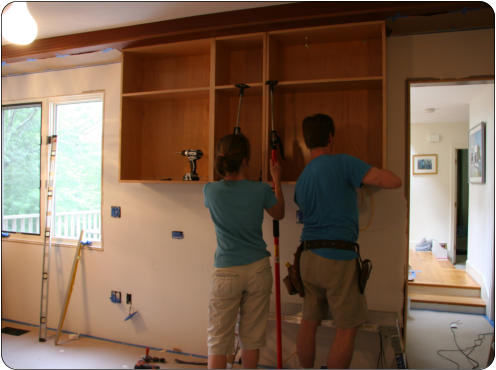
That makes the upper cabinet placement relatively
simple. Each cabinet is pre-drilled for screw
location so that they line up with the shims. A “third
hand” tool and a wife help hold it in place until it can
be screwed in permanently.
work on the upper cabinets progresses in the same
way. I know this looks like a uniform that we’re
wearing but believe me - it was a coincidence.
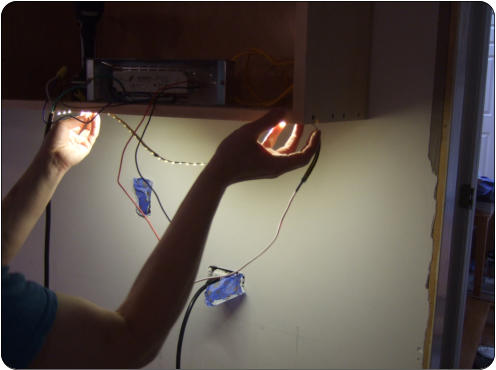
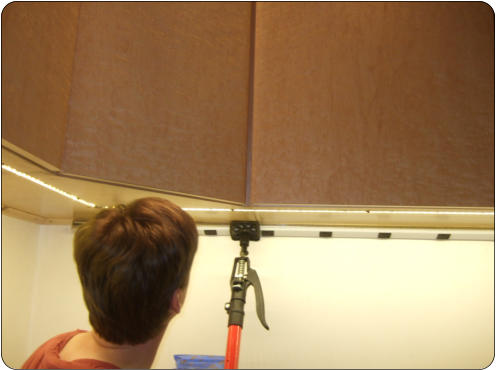
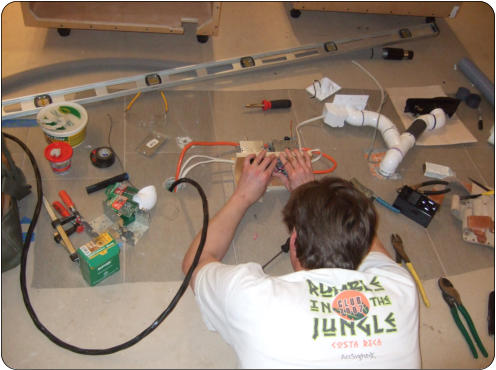
Underneath the upper cabinets, we planned (or
maybe routed is a better word) for strip LED lighting
angled back toward the backsplash. Here is a strip
hooked up to the transformer as I create a little
“dress rehearsal”
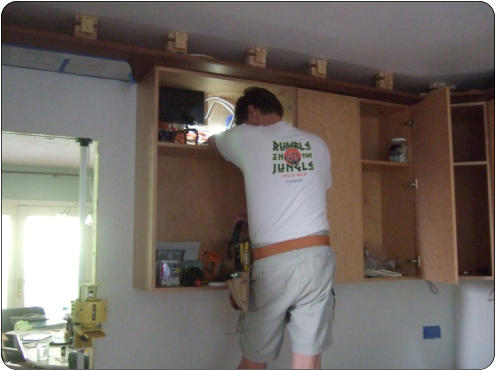
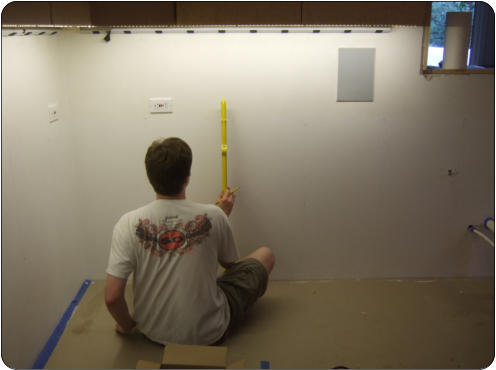
The transformers for the under cabinet lights and
also the monorail general lighting is in the top of one
of the uppers. This way I can run the wire down the
side of the cabinet run and it will be eventually
covered by the side panels.
With the uppers in place, and the doors on, the LED
lights can be run in the soffit for dramatic effect.
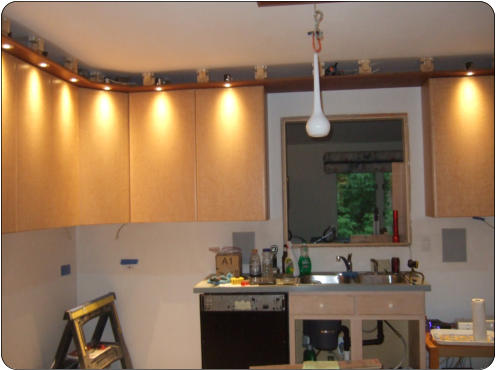
Here’s the wire running down one of the sides. At
the bottom, it falls into the routed groove and
becomes the LED strip.
The LED strips are visible in this picture. Note that
we also planned for plugmold to be run underneath
the main sections of kitchen. Yea, it’s overkill, but
it’s not expensive and it keeps the outlets from
ruining the look of the backsplash. If you do this,
you won’t want to leave appliances out on the
countertop with the electric cord dangling from the
uppers
getting ready to put in lower cabinets.
A few things to note here:
1 - the dramatic LED undercabinet lighting.
2 - the plugmold outlet run- it is stainless steel, but
has a white protective coating in this picture
3 - Ramboard protective flooring. I love this stuff
and I think it saved the tile and grout more than
once.
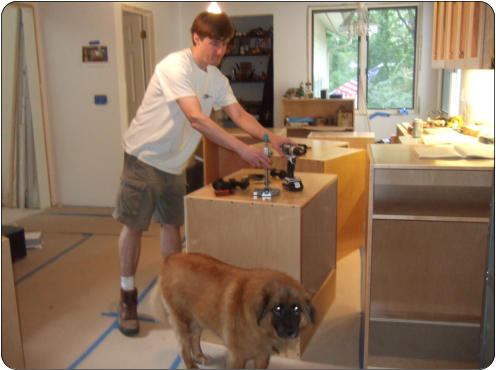
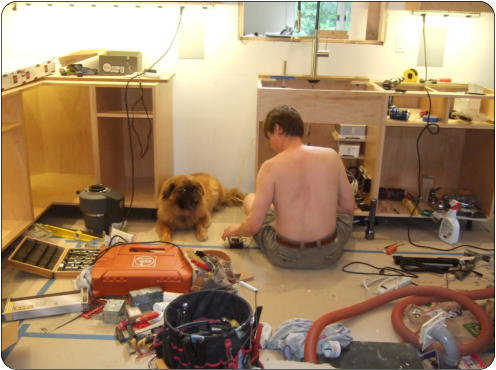
For the lowers, I’m drilling holes and pushing in the
Blum cabinet levelers. These are really handy to
get the cabinets exactly where you want them with
no shimming on the floor. As usual, I have a helper.
Under the kitchen sink, I mounted some of the
Sonos audio components and an 8” subwoofer. the
in-wall speakers are Bowers and Wilkens. in this
picture, I’m tinning the ends of the speaker wires
before hookup.
And of course I had a helper.
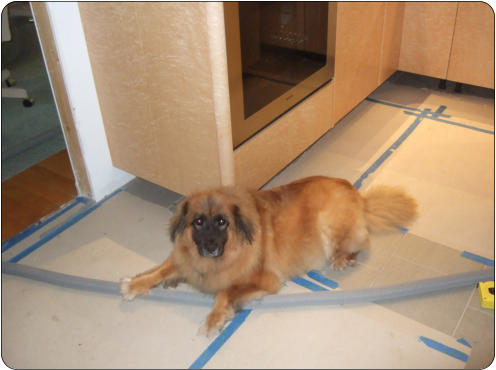
Speaking of my helper, here she is stailizing a
vacuum hose while modeling one of those side
panels that I mentioned above. The panels make a
real finished look and are scribed to the wall so
there’s no obvious gaps from shimming.
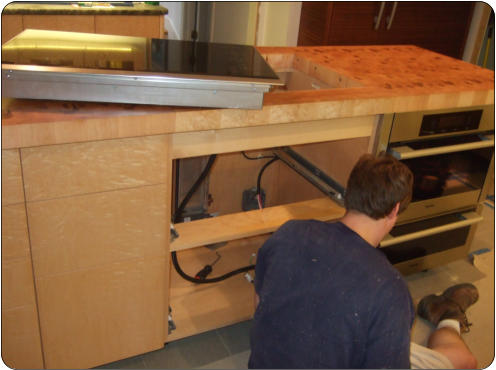
At this point, I had the countertops installed around
the perimeter before the island was in place. That
made it easy to maneuver for the granite guys.
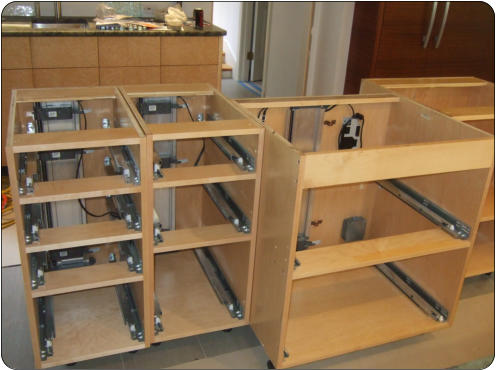
These cabinets are the island. Up until this point,
the entire island was assembled in the basement
and serving as our temporary kitchen.
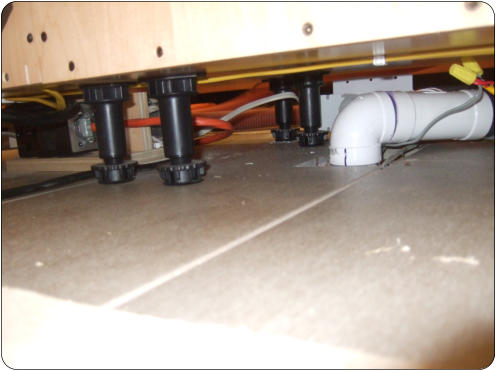
Before putting the island in, we needed to plan for
the central vacuum outlet, toe-kick vacuum, and
plenty of electricity for the cooktop, microwave,
warming drawer, and island outlets
here’s a crowded view under the island. All of this
will ultimately be within the toe kicks and not
exposed.
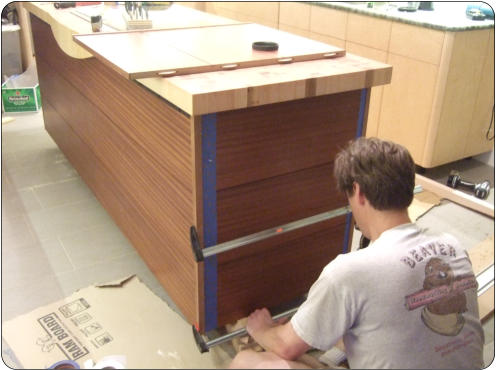
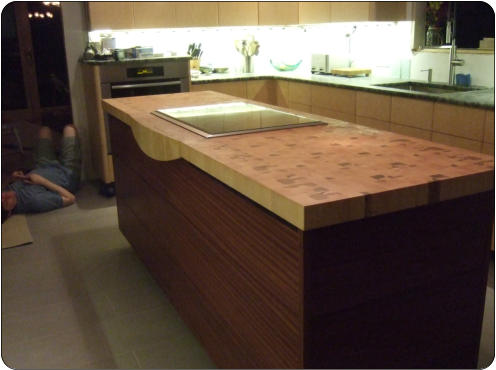
Here’s the island starting to look ready for action.
The butcherblock countertop made from a local tree
is covered here.
Island construction is completed by sapele panels
that wrap around the back and sides. You can see
the opposite side panel with biscuits resting on the
countertop.
Done! At least until we put up backsplashes!