

Home Improvement:


Tile Floor Leveling
Or rather, “flattening.”
Once the NuHeat cable twas down and covered with
thinset, we found out that the floor was not at all flat.
There was a distinct ridge in the plywood centered
around a basement lally column. We hadn’t
discovered this until the thinset part was all done. It
looked flat, but a 6 foot straightedge showed that
we’d after flatten the floor.

A laser is used to get a reading of where the highest areas are. Using these identically
shaped and marked wooden blocks, I can see how far out of plane the floor is and also
establish a new non-level plane that would require the least amount of self-leveler.

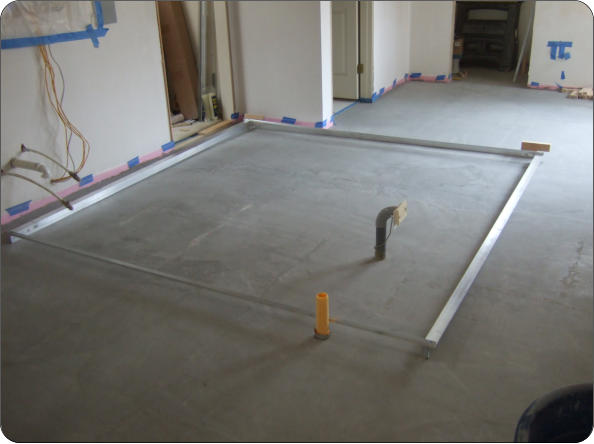
Here is how we created the same plane. I made a
square aluminum frame that stands on bolts in the
corners as feet. The frame is aligned to the
spinning laser that is my reference plane. There is
another aluminum angle that rides on the frame as a
screed. This way I can pour self-leveler and then
screed it to a plane.
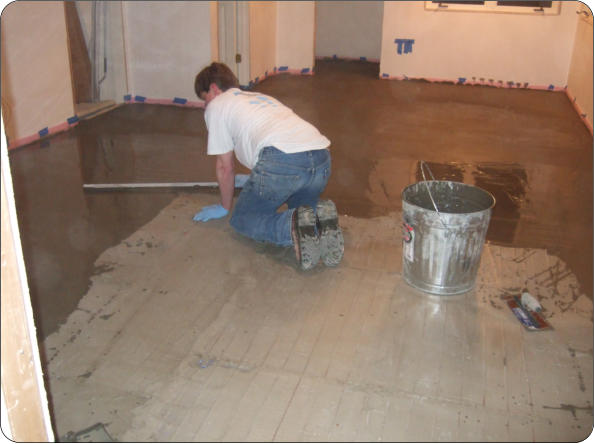
At first, we tried self-leveling compound over the
thinset. Self leveler does NOT self-level. It auto-
smooths and that’s about it. I needed a way to set a
plane (didn’t care it it was level) and have the whole
kitchen be on that plane.
Without moving the spinning laser, this process is
repeated until the floor is pretty much covered with
these plateaus.

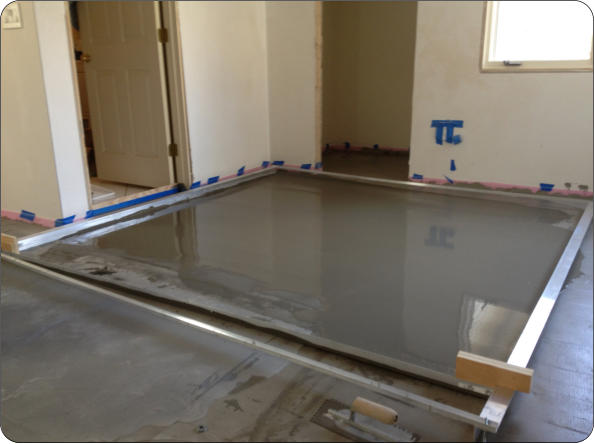
You can see how flat the screeded self-leveler
comes out. We pour a little SLC, trowel it the full
length of the screed, and then slowly draw the
screed over it. This creates a 10 foot by 10 foot
plateau of SLC.
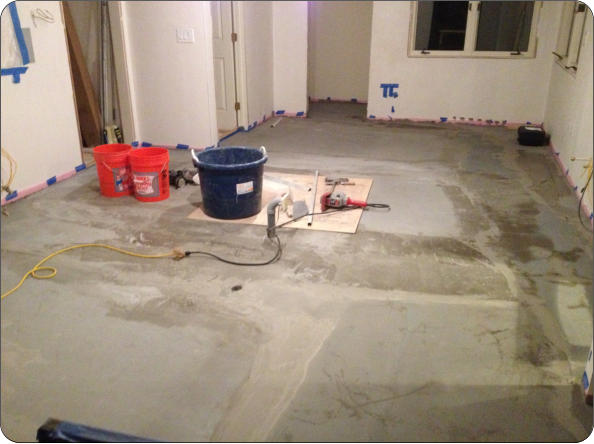
Although it looks like a patchwork, the resulting floor
is quite flat and ready for the Ditra.


