Home Improvement:


Vacuum Press
The enabling technology of gluing wood veneer tightly to cabinet doors is a vacuum bag. This is a vacuum pump connected to a plastic bag that holds the door with the freshly glued (still wet) veneer in place. The result is like a ton of weight evenly distributed on the veneer, bonding it permanently to the substrate door.Checklists
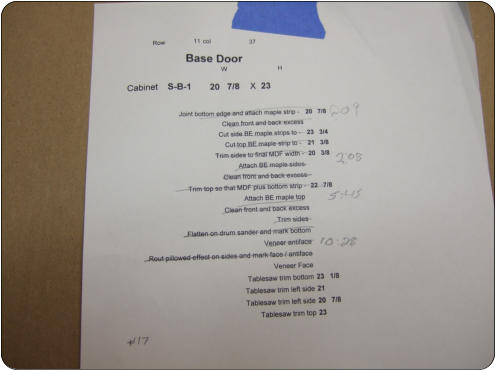
The same Excel Spreadsheet with rows for each cabinet also has columns calculating the measurements for each door and drawer front. For each sized part, there is a definite series of steps with various cuts and trimming that have to be done in order. The only way to get this right in this size of a project is to generate a custom checklist with detailed measurements for every single piece.Veneered Doors
For that minimalist
contemporary look
I used several veneering books including:
“Veneering: A Foundation Course” by Mike Burton
and
“Woodworker's Guide to Veneering & Inlay:
Techniques, Projects & Expert Advice for Fine
Furniture” by Jonathan Benson.
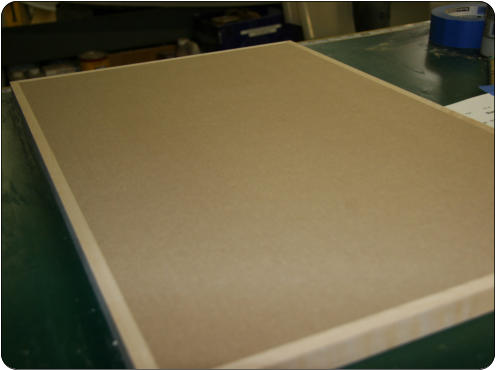
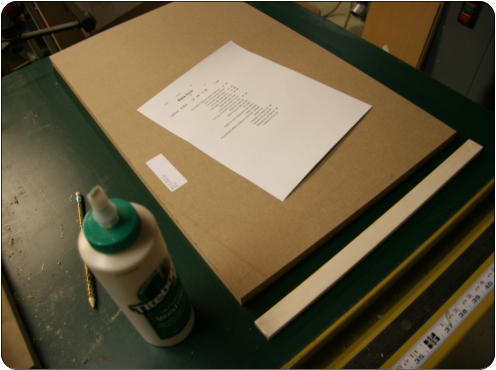
Here is a strip of maple about to be glued on the
MDF substrate. The substrate is trimmed on the
one edge only. Other edges will be trimmed just
before their strips are to be glued.
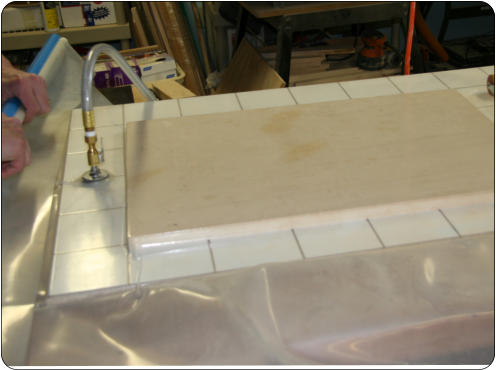
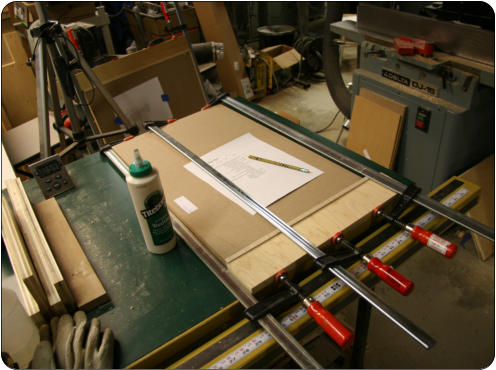
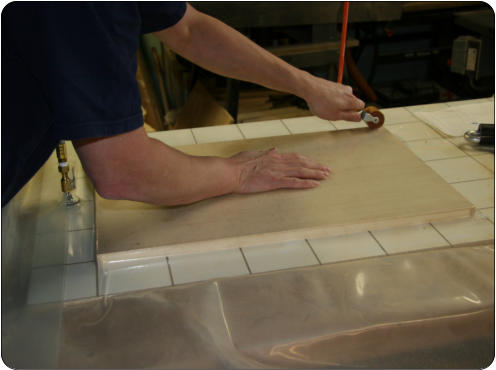
The strip is glued and clamped to the substrate
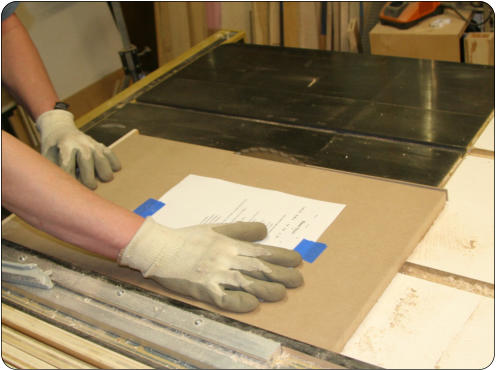
Sides are trimmed along with the now-cured bottom
maple strip
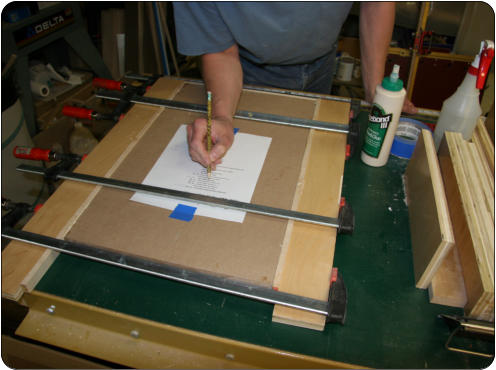
The side strips are then glued and clamped. Note
the bookkeeping on the checklist. This is very
important to avoid mistakes especially when dealing
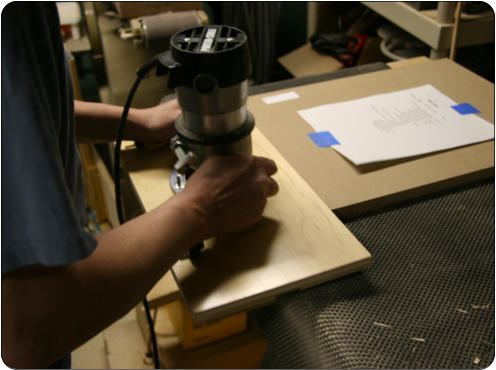
with fractions of an inch.
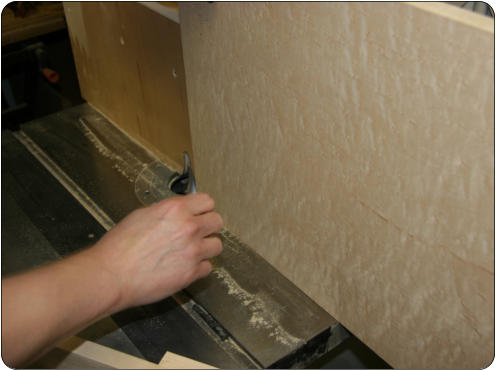
...and trimmed using the router surface jig.
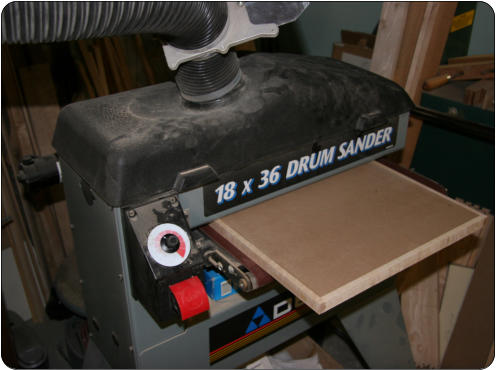
After the top edge is glued on, final trimming is done
on the drum sander, which leaves the assembly
perfectly flat and ready for veneer.
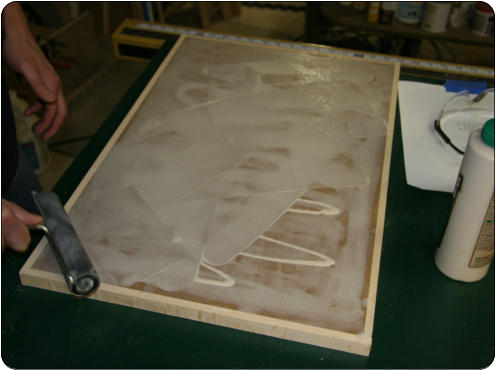
Glue is rolled on. This has to be done quickly as
this particular glue starts drying rapidly. Also the
veneer curls and expands (at least 1/4”)
immediately when contacting the wet glue. Later
on, we discovered that using Urea Formaldehyde
glue such as Uninbond800 made the assembly WAY
easier. No expansion and plenty of open time until
you apply heat to cure it.
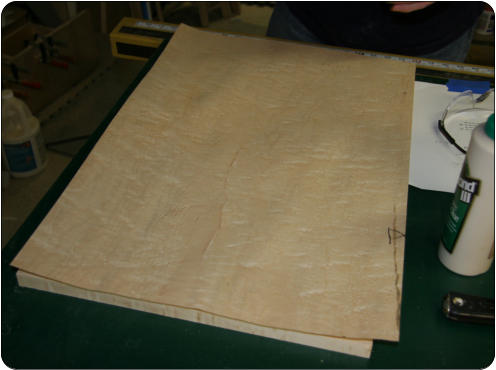
It’s important that both the substrate and veneer are
marked lightly in pencil for which way is up and
which side is the face versus the rear of the panel.
The whole point of buying the veneer lie we did is to
get each panel to have grain flowing into the panels
adjacent to it.
Into the bag it goes. The vacuum pump is strong
enough to get small wrinkles out quickly with a little
help from a wooden roller.
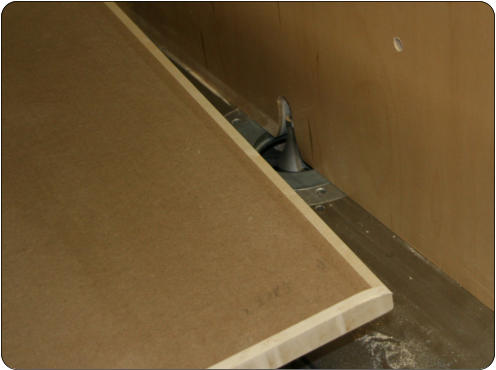
That was the back of this particular panel. For the
front, we wanted a gentle curve on the side edges. it
is something of a pillowing effect, but only at the
sides. This is done on the shaper with a vertical
cutting router bit
The finished profile. The veneer will have no
problem curving around this edge. Note the writing
on the panel to show which way is up and also that
this is the face (not the rear) of the panel. This will
not show through the veneer and I can’t stress
enough the importance of marking everything.
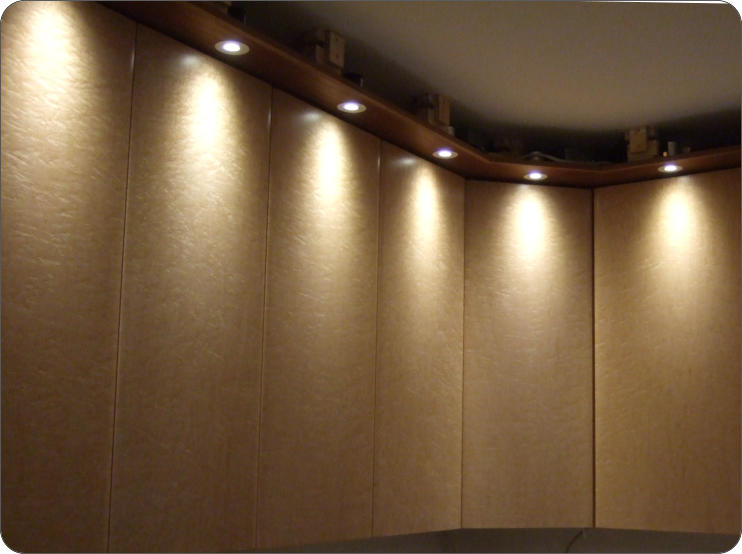
Exotic Birdseye Maple
These doors can only be ruined with handles or knobs. If you look at the expanded picture (click above), you’ll see that the grain of these panels is a breathtaking figured birdseye. The grain is consistent because every panel came from the same exact tree. A 10 foot trunk is mounted on a giant lathe and “peeled” to make sequential sheets of veneer only 1/40” thick...
...And I bought 17 of those sequential sheets! Most
of the sheets are 110” long by about 37” inches
wide. This means that every cabinet door that I
made had no seam on the front or back. It also
means that base cabinet double doors and the two
drawer fronts above them will have the wood grain
running continuously. You don’t get that at Home
Depot.
Where do you get that?
Solid Maple Edging
This is similar to the cabinets themselves. Each part is mostly made of smooth-as-silk medium density fiberboard, or MDF. It takes glue really well and is considered an optimum substrate for veneer regardless of cost. As in cabinet part construction, this means that the edges need to be faced with solid maple on all sides.
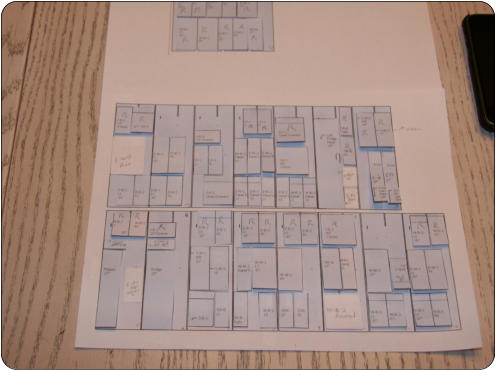

Back to the cabinets. Figuring out where each
piece of veneer should be cut took some planning.
Above is the scale model of the veneer strips (with
defects marked so that I can avoid them). No
mistakes allowed!
Niagara Falls! Well close. This is the Canadian
side, but about 40 minutes away on the Buffalo side
is “Certainly Wood”. They are worth the trip to East
Aurora, NY. While there, eat at the birthplace of the
Buffalo Wing - The Anchor Bar.